









































































































































































































If you haven’t installed your profile yet, make sure to check our complete eSIM setup guide first.
We’ve all been there: you step off a long-haul flight, rush out of the aircraft, and eagerly switch off airplane mode. You expect your phone to instantly lock onto a local network so you can order an Uber, check messages, or let family know you’ve arrived safely. Instead? Nothing. Just a frustrating “No Service” or a spinning loading icon.
Before you start panicking or hunting down the notoriously slow airport Wi-Fi, take a deep breath. In almost 99% of cases, this isn’t a broken eSIM or a lost connection—it’s just a minor setting that needs a quick nudge.
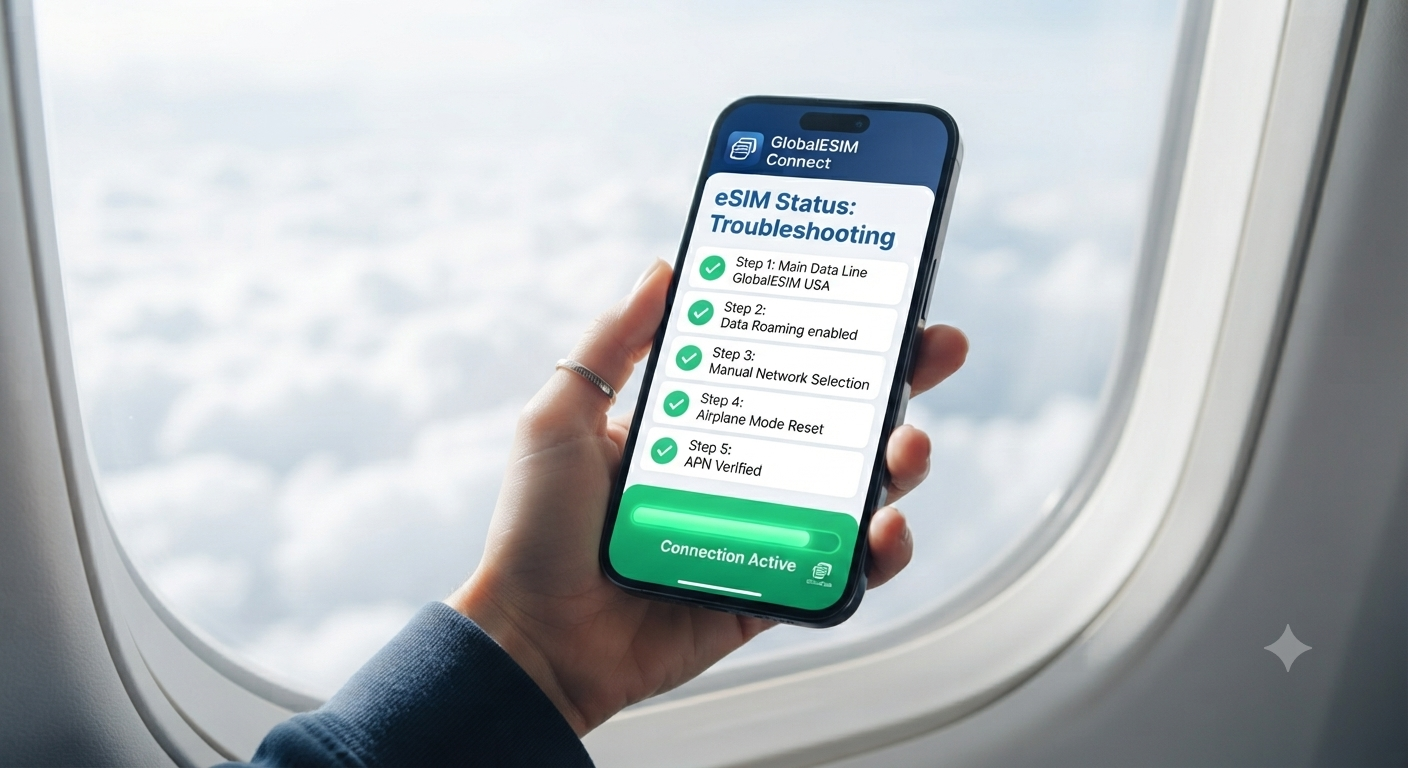
Drawing from our team’s years of hands-on experience helping thousands of travelers get online seamlessly, we’ve put together a foolproof, 5-step troubleshooting checklist to get your data running in under a minute.
Step 1: Make Sure Your eSIM is Set as Your Primary Data Line
Even after installing an international eSIM, your phone might still be desperately trying to route data through your primary home carrier (which is likely blocked or restricted abroad).
-
On iPhone: Head over to Settings > Cellular (or Mobile Service), tap Cellular Data, and double-check that your GlobaleSIM profile is explicitly selected for data usage.
-
On Android: Go to Settings > Network & internet > SIMs, and verify your mobile data preference is mapped to the active eSIM.
Step 2: Turn on “Data Roaming” (Don’t Worry, It’s Safe Here)
This is by far the most common culprit. Because your eSIM relies on partner networks overseas, it technically operates on “roaming”—even though you paid local rates upfront.
-
Locate your eSIM profile in your phone settings and ensure the Data Roaming toggle is switched ON. (Note: This applies only to your travel eSIM, so you won’t face any surprise carrier charges from your home provider).
Step 3: Perform a Manual Network Selection
Sometimes, a device gets stubborn when trying to latch onto local cell towers automatically right after a flight lands.
-
Dive into your network settings under your eSIM profile, toggle off Automatic Network Selection, and manually pick one of the recommended local carrier partners listed in your GlobaleSIM Destination Guide. If it doesn’t connect instantly, toggle automatic back on to force a fresh handshake with local cell towers.
Step 4: The Classic Airplane Mode “Reset”
Old-school tricks survive for a reason because they work.
-
Turn Airplane Mode ON, wait about 15 to 20 seconds, and turn it OFF again. This forces your phone’s modem to completely reset its radio connection and pull down fresh local network configurations.
Step 5: Check Your APN Settings (Just in Case)
While 95% of modern devices configure Access Point Names (APNs) automatically, a rare few require manual entry.
-
If you’ve gone through the steps above and still see no bars, open the installation guide we emailed you, look for the short APN string (like globaldata), and manually plug it into your cellular network settings.
Pro-Tip for Next Time: Setup Before You Fly While these troubleshooting steps will save you if you’re stuck on the tarmac, the ultimate way to avoid airport stress altogether is setting up your digital profile before you even leave home. As we often share in our GlobaleSIM Travel Tech Insights, over 65% of smart travelers now complete their installation on their couch, ensuring instant connectivity the exact second their wheels touch down.
Got a specific connectivity question or running into a different glitch? Drop a comment below or check out our comprehensive eSIM Troubleshooting FAQ Hub for more hands-on tips!
よくある質問
In almost every case, this isn't a broken eSIM at all, it's a minor setting that needs adjusting. The phone may still be trying to route data through your home carrier, data roaming for the travel line may be switched off, or the device simply needs a moment to latch onto local towers. Working through a short checklist typically restores service in under a minute.
Yes, and it's the most common culprit behind connection issues. A travel eSIM connects through partner networks abroad, which technically counts as roaming even though you prepaid for local rates. Locate your eSIM profile in phone settings and switch its Data Roaming toggle on; this only affects the travel eSIM line, so it won't trigger surprise charges from your home carrier.
Turning Airplane Mode on, waiting about 15 to 20 seconds, then switching it back off forces your phone's modem to fully reset its radio connection and pull down fresh local network configurations. This old-school reset works because it gives the device a clean handshake with nearby cell towers, which often resolves stubborn connection issues right after landing.
Yes, this can help when a device is slow to latch onto local towers on its own. In your eSIM profile's network settings, toggle off Automatic Network Selection and manually choose one of the recommended local carrier partners for your destination. If it still doesn't connect right away, switch automatic selection back on to force a fresh network handshake.
Get GlobaleSIM travel guides first in Google Top Stories.