









































































































































































































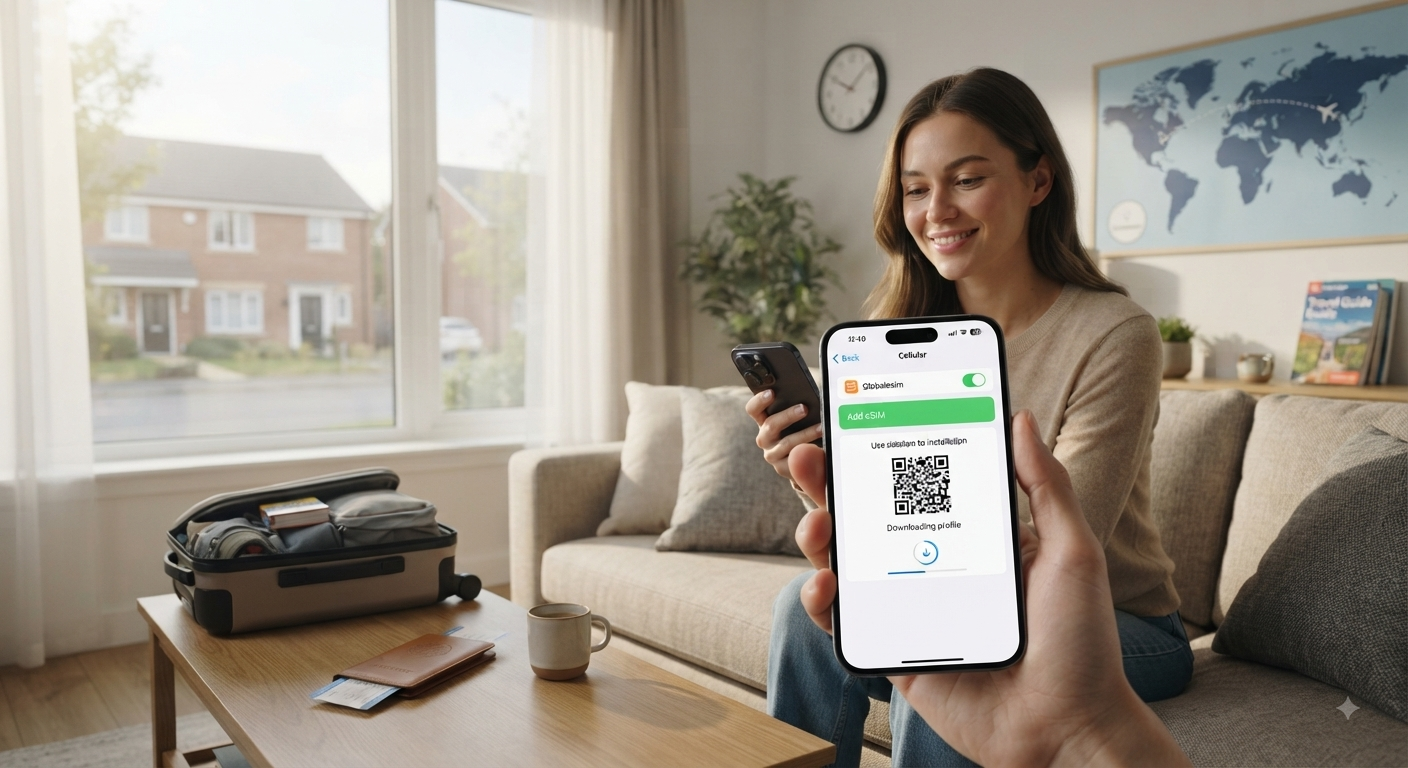
Your phone is often the first tool you need after landing. It holds your boarding details, hotel address, maps, ride-hailing apps, and messages from home. Learning how to install esim before travel means those essentials can work as soon as you arrive, rather than after a search for airport Wi-Fi or a local SIM store.
An eSIM is a digital SIM profile added directly to an eligible phone. You can purchase a travel plan online, receive installation details electronically, and keep your regular physical SIM in place. The key is understanding that installation and activation are not always the same thing. Set up the eSIM before departure, then activate it at the right moment for your plan.
Why install an eSIM before you leave?
Travel days have enough moving parts. International connectivity should not be another one. Installing a travel eSIM while you still have reliable Wi-Fi gives you time to read the instructions, confirm the profile appears on your phone, and resolve any device-setting questions before your flight.
It also helps you avoid a common mistake: using your home carrier’s roaming data by accident. With a travel eSIM ready to go, you can select it for mobile data when you land and leave your primary line available for calls, texts, or two-factor authentication if needed. This dual-SIM flexibility is especially useful for business travelers who cannot afford to miss messages on their usual number.
There is one trade-off to consider. Some plans begin their validity period as soon as the eSIM connects to a supported network, while others activate when installed or on a defined date. Read the plan details before setup. If your plan activates upon network connection, you can usually install it at home and keep the line turned off until arrival.
Check these details before buying a plan
Before selecting a destination plan, make sure your phone supports eSIM technology and is carrier-unlocked. Most newer iPhones, Google Pixel phones, and many Samsung Galaxy models support eSIM, but availability can vary by model, region, and carrier. An unlocked device is essential because a carrier-locked phone may reject a travel eSIM even when the hardware is compatible.
Also confirm where you are traveling and how much data you realistically need. A country-specific plan can be a smart choice for a single-destination vacation. A regional plan is often more convenient for a multi-country itinerary, such as Francia, Italia, and España in one trip. Global coverage may make more sense for frequent flyers whose plans change often or who are traveling across several regions.
Choose data, calls, and texts based on your trip
Most travelers need data for navigation, messaging apps, booking confirmations, and social media. If that is your priority, a data plan can keep setup simple and costs predictable. Your regular number can remain active for incoming calls or verification texts, provided you understand your home carrier’s roaming policies.
Some travelers need a plan with voice minutes and SMS. This can be useful if local businesses, drivers, or work contacts are more likely to call a standard phone number than use an app. Think about how you will communicate before you buy, not from an airport curb after your flight.
Save your installation information
After purchase, installation details typically arrive by email. They may include a QR code, a manual activation code, or instructions to install through an app. Save that email and take a screenshot of the QR code if appropriate. Do not rely on having mobile data available later to retrieve it.
For the easiest process, install the eSIM while connected to dependable Wi-Fi. Avoid printing the QR code unless you need to. Your phone’s camera cannot scan a code displayed on the same screen, so an emailed QR code is best opened on another device, or you can use the manual installation details instead.
How to install eSIM before travel on your phone
The exact labels differ by device and software version, but the setup flow is similar. On an iPhone, open Settings, choose Cellular or Mobile Data, then select Add eSIM. On many Android phones, open Settings, choose Network and Internet or Connections, then look for SIM Manager or Add eSIM.
Choose the option to use a QR code, then scan the code supplied with your plan. If scanning is not possible, select the manual-entry option and carefully enter the activation details. Keep your phone on Wi-Fi until the download is complete. An eSIM profile can take a few minutes to install, so do not close the setup screen too quickly.
When your phone asks you to label the new line, choose a name you will recognize later, such as “Japan Travel Data” or “eSIM Europe.” This small step makes it much easier to select the correct line when you land. You may also be asked whether to use the new eSIM as your default voice line, messaging line, or mobile-data line. For most travelers, leave their regular line selected for voice and messages, and use the travel eSIM for data only after arrival.
Do not delete the eSIM after installation unless support specifically tells you to. A deleted profile may not be recoverable with the same QR code, and reinstalling it can require a new activation process.
Set the right activation timing
Once installed, your phone may show the new eSIM as a separate cellular line. That does not always mean it is using data yet. Before you travel, keep the travel line turned off if your plan should not activate until you reach your destination, or follow the plan instructions if it requires activation before departure.
After landing, turn on the travel eSIM and set it as the mobile-data line. Then enable data roaming for the travel eSIM if the installation instructions require it. This setting can sound counterintuitive, but on a travel eSIM it allows the plan to connect with its partner networks abroad. Enable roaming only for the travel line, not automatically for your home line.
It is also wise to turn off cellular data switching or a similarly named setting. That prevents your phone from quietly falling back to your primary SIM when the eSIM signal is weak. Your main line can remain on for calls and texts, but keeping its data roaming disabled helps protect you from unexpected carrier charges.
Test what you can before departure
You may not be able to test network service until you reach the covered country or region. That is normal. What you can verify at home is that the eSIM appears in your cellular settings, has a clear label, and is enabled or ready according to your activation instructions.
Confirm that you know where to switch mobile-data lines, where to enable data roaming for the travel eSIM, and how to view data usage. Download offline maps for your arrival city as a backup, especially if you are landing late or heading somewhere with limited coverage. A prepared eSIM is excellent, but a saved hotel address and offline transit directions provide extra peace of mind.
If the eSIM does not connect after landing
Start with the basics. Make sure airplane mode is off, the travel eSIM line is turned on, and it is selected for cellular data. Confirm that data roaming is enabled for that eSIM when required. Restarting the phone can also prompt it to register with a local network.
If the connection still does not work, check the plan’s coverage area and validity dates. A regional plan may work in many countries but not every territory, and a plan for one destination will not connect in another. Network selection is usually automatic, though some plans provide guidance on choosing a supported network manually.
Avoid removing the eSIM profile while troubleshooting. Keep the purchase confirmation and installation details available, and contact support with your device model, destination, and a screenshot of the relevant cellular settings if requested. That information makes it much easier to identify whether the issue is related to setup, coverage, or device configuration.
If you run into any issues or your data isn’t connecting right away, don’t worry—head over to our comprehensive eSIM troubleshooting guide for quick and easy solutions.
The best travel connection is the one you do not have to think about after your plane touches down. Choose the destination plan that fits your route with Global eSIM, install it before you fly, and arrive ready to navigate, work, and stay in touch. Haven’t picked your plan yet? Browse our global eSIM destinations and data plans to get started.
Preguntas frecuentes
Installation adds the digital eSIM profile to your phone, while activation starts the plan's validity period. Some plans activate as soon as the eSIM connects to a supported network, while others activate on install or a set date. Reading the plan details beforehand lets you install the eSIM at home over Wi-Fi and keep the line switched off until you actually need it to start.
Confirm your phone supports eSIM technology and is carrier-unlocked, since a locked device may reject a travel eSIM even if the hardware supports it. Also consider your itinerary: a country-specific plan suits a single destination, a regional plan works better for multi-country trips like France, Italy, and Spain, and global coverage fits frequent travelers moving across several regions.
Installing the eSIM while connected to reliable Wi-Fi gives you time to confirm the profile loaded correctly and resolve any device settings before your flight. It also helps avoid the common mistake of accidentally using your home carrier's expensive roaming data, since you can select the travel eSIM for data only after arrival while keeping your regular line available for calls or texts.
First confirm airplane mode is off, the travel eSIM line is turned on and selected for cellular data, and data roaming is enabled for that line if the plan requires it. Restarting the phone can prompt it to register with a local network. If it still doesn't connect, check the plan's coverage area and validity dates, since a regional plan may not include every country in that region.
Yes. Disabling cellular data switching, or a similarly named setting, prevents your phone from quietly falling back to your primary SIM when the travel eSIM's signal is weak, which can trigger unexpected roaming charges. Keeping your home line's data roaming turned off while the travel eSIM handles data is a simple way to avoid surprise carrier fees while still receiving calls and texts.
Consigue las guías de viaje de GlobaleSIM primero en las noticias principales de Google.